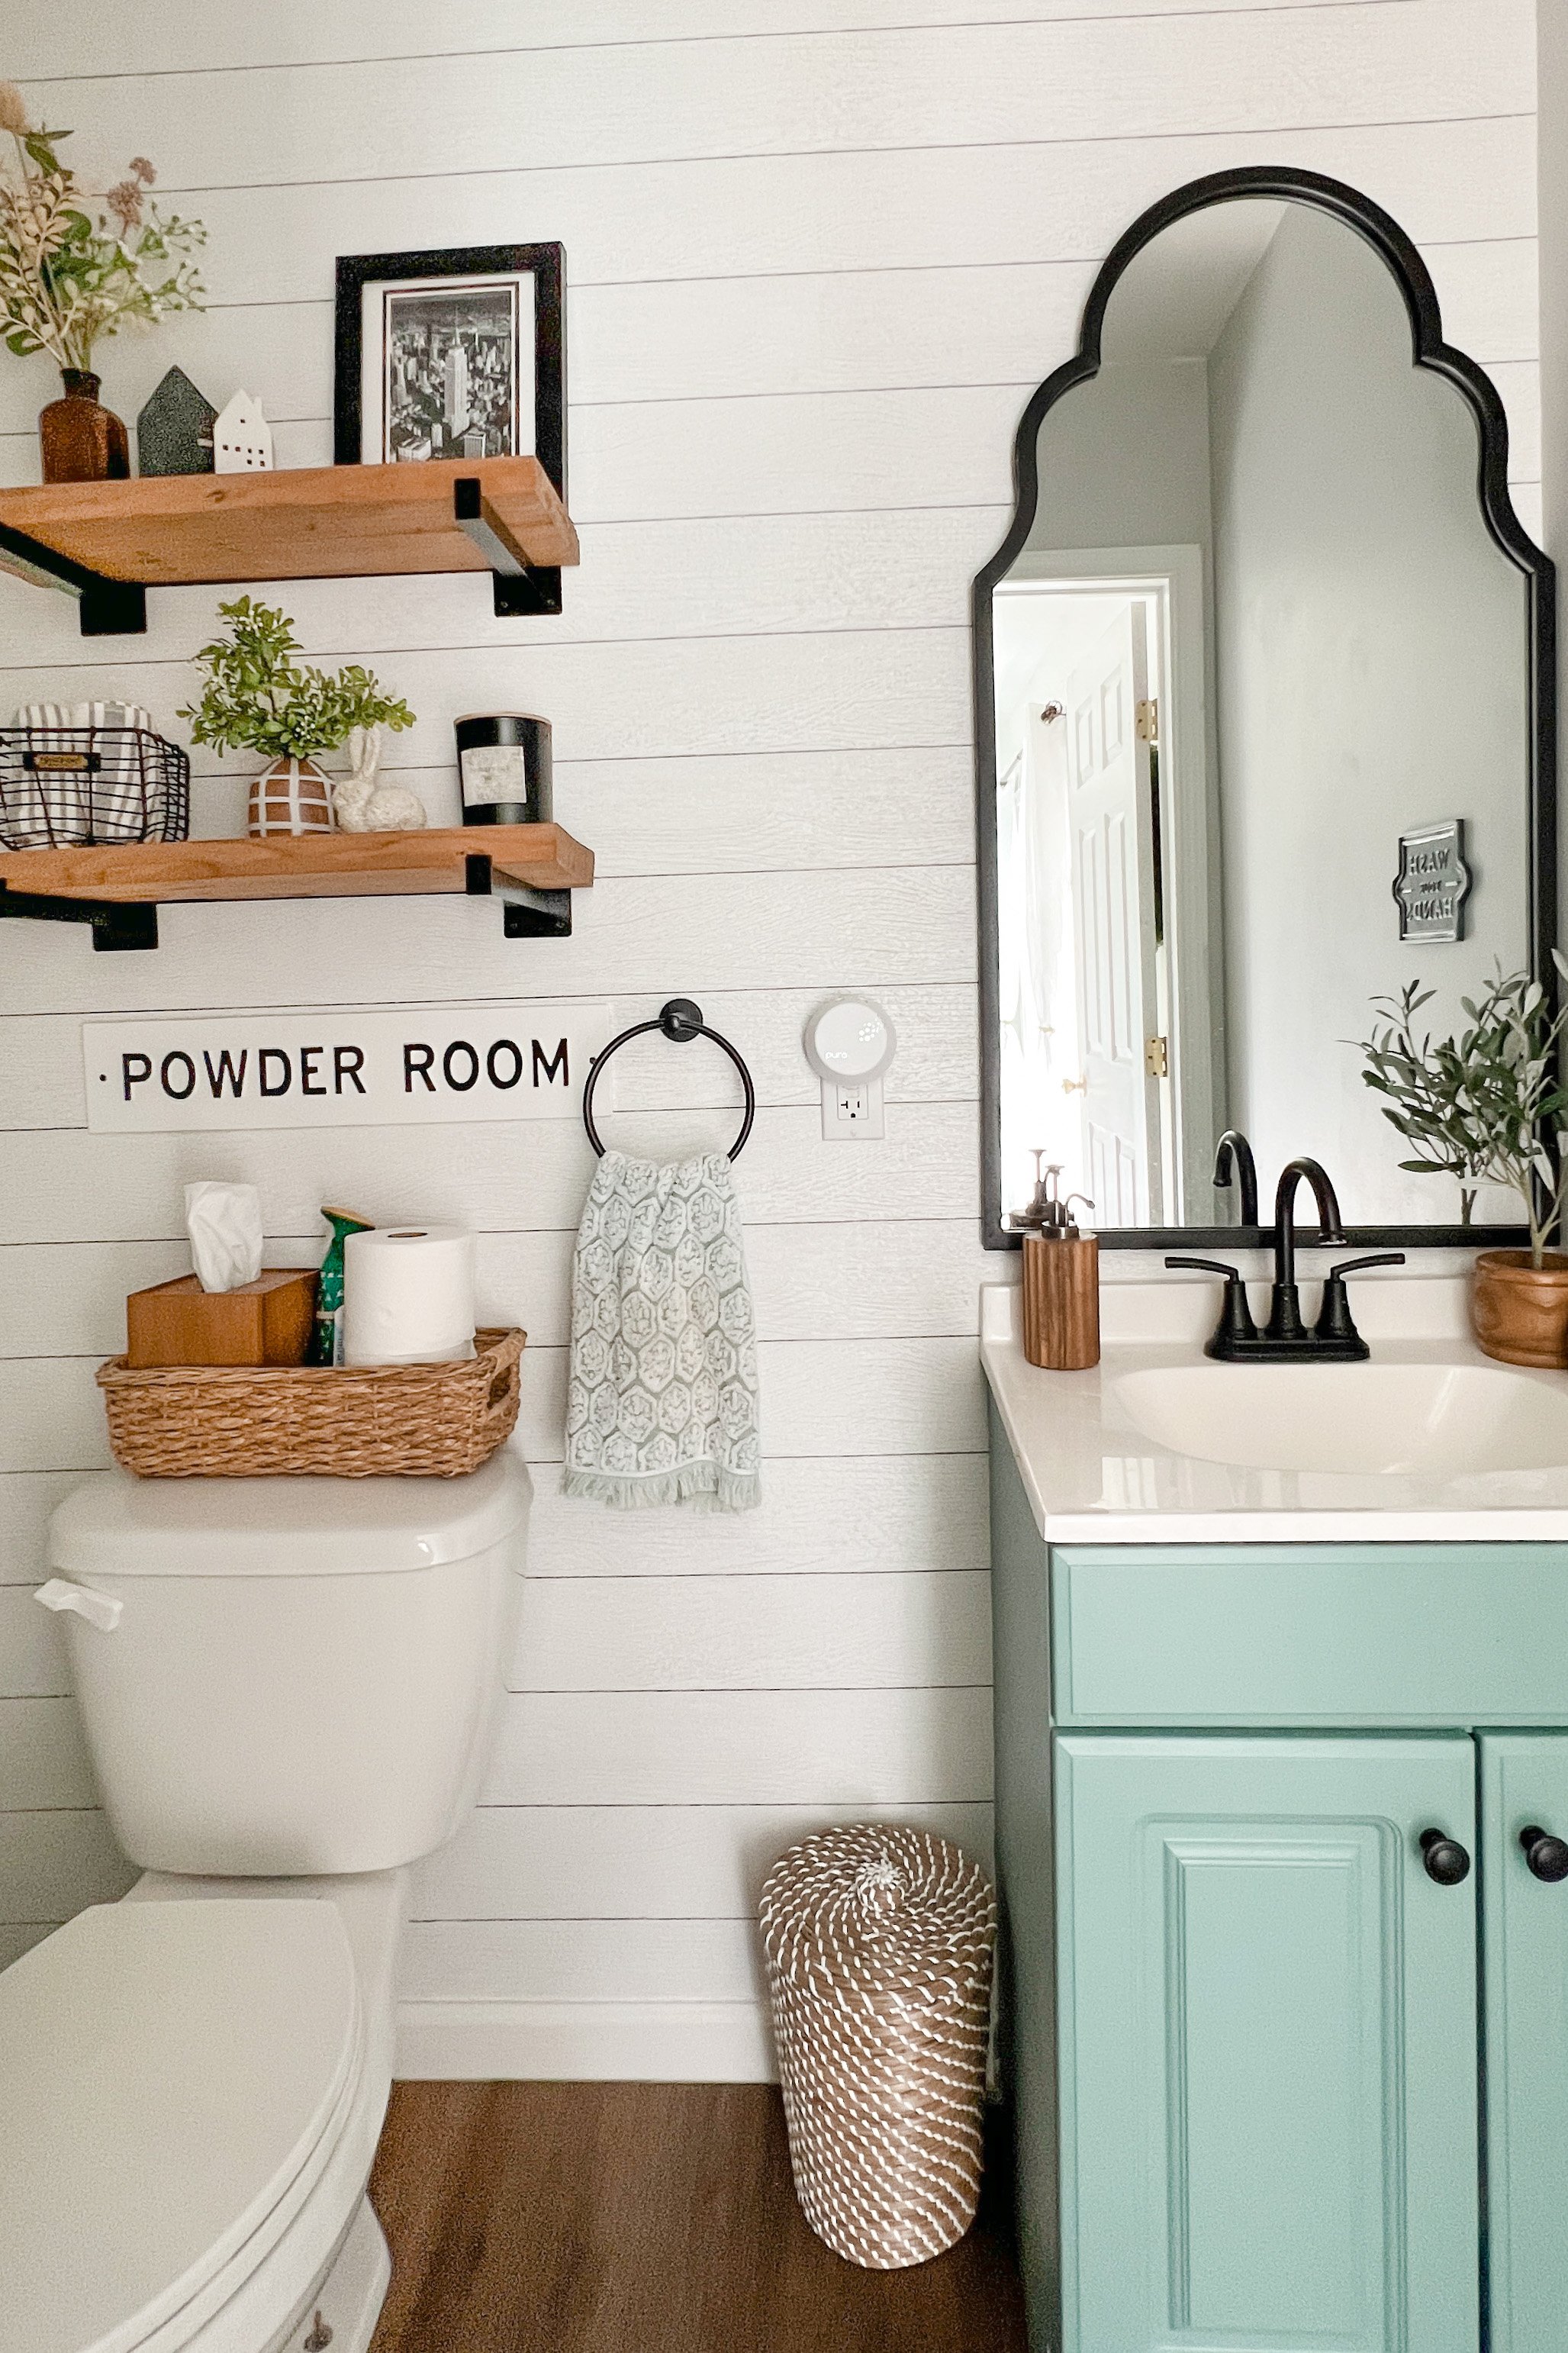
Accent Wall Transformation On A Budget: Small Farmhouse Bathroom
Transforming a small bathroom into a charming farmhouse-inspired retreat doesn't have to cost a fortune. With a dash of creativity and resourcefulness, you can achieve the cozy and rustic look you've been dreaming of without breaking the bank. In this post, I’m sharing our small bathroom accent wall wallpaper I found on a budget that can hopefully give you some ideas to make your bathroom feel more like a farmhouse bathroom and create a jaw dropping space.
What I loved about our bathroom when my husband and I first purchased our home was that it was a blank canvas. This house was freshly flipped to builder grade materials, so it was extremely easy to envision my dream bathroom with all white walls and white everything.
In a farmhouse space, it often features soft and muted colors that evoke a sense of warmth and comfort. I opted in for neutral tones like whites, creams, and wood accents as the base for the space. These colors create a timeless backdrop that allows you to incorporate various decor elements without clashing, and add a pop of color here and there.
Small DIY Bathroom Accent Wall Idea On A Budget
Since it was such a small space I wanted to make sure the main/back wall was stunning. I had searched high and low for farmhouse bathroom inspiration on Pinterest for months before purchasing our home, so I kind of already had a vision in my head.
I wanted to go with a shiplap accent wall, but my husband and I weren’t willing or had the budget to install real shiplap. When searching online, I came across this textured realistic looking shiplap peel & stick wallpaper from Target.
To my surprise when receiving it the qualify was wonderful! I loved that it incorporated real texture.
Installing The Accent Wallpaper
This accent wallpaper is super DIY friendly because it is a ready to use, self adhesive product. It’s also simple to peel off, or leave on permanently even with the moisture resistance! Installing peel and stick wallpaper is a relatively straightforward process. Here's a step-by-step guide to help you install peel-and-stick wallpaper successfully:
Materials You'll Need:
Utility knife or scissors
Measuring tape
Level
Pencil
Smooth, clean cloth or wallpaper smoother
Step ladder (if necessary)
Steps:
Prepare the Surface:
Ensure that the surface you're applying the wallpaper to is clean, smooth, and free of dust or debris. Wipe the wall with a damp cloth if needed.
If there are any holes or imperfections, fill them and let the surface dry completely before applying the wallpaper.
Measure and Cut:
Measure the height of the wall and cut the wallpaper accordingly, leaving a few extra inches at the top and bottom to allow for adjustments.
Use a level and a pencil to mark a straight, vertical line on the wall. This will serve as a guide for the first piece of wallpaper.
Peel and Stick:
Peel off a small section of the backing from the top of the wallpaper.
Align the top of the wallpaper with the vertical line you marked, and press the exposed adhesive section onto the wall.
Smooth and Align:
Use a wallpaper smoother or a clean, smooth cloth to press the wallpaper against the wall, working from the center outward. This helps eliminate air bubbles and ensures good adhesion.
Continue peeling the backing off gradually while smoothing the wallpaper onto the wall.
Trim Excess:
Once the first piece is in place, use a utility knife or scissors to trim the excess wallpaper at the top and bottom.
Repeat the process for subsequent pieces, aligning the patterns as needed.
Overlap and Match Patterns (if applicable):
This was a bit tricky with this specific pattern because it’s a straight line to with the shiplap. The level is an absolutely must to make sure you’re not veering diagonally.
Overlap the seams slightly (usually about 1/8 inch or as specified by the manufacturer) to ensure a seamless look.
Continue the Process:
Repeat the process for the remaining sections, ensuring that each piece is aligned and smoothly adhered to the wall.
Final Checks:
Step back periodically to check the overall alignment and smoothness of the wallpaper.
If needed, make small adjustments before the adhesive sets.
Wallpaper | Trashcan | Mirror | Faucet | Hand Towel | Towel Ring | Soap Dispenser | Plant | Wash Your Hands Sign
With this shiplap bathroom accent peel and stick wallpaper, you can achieve a stunning transformation without the mess and hassle of traditional installations. This DIY project allows you to infuse your bathroom with a touch of character and warmth, creating a space that reflects your personal style. So, gather your materials, follow these simple steps, and get ready to enjoy a refreshed and stylish bathroom ambiance.
SHOP THE BATHROOM:
IF YOU LIKED THIS POST YOU MAY LIKE:
Our $179 marble-looking countertop renovation
How I completely Flipped My Kitchen On a $350 Budget
Everything I Used To Make A Chic Walk In Closet Room


